Apologies for the delay in posting an update. Various things conspired against me to prevent me from finding enough time to visit the area. However today I was able to continue the survey of the line from where I left off at Verney Junction as far as Claydon Junction.
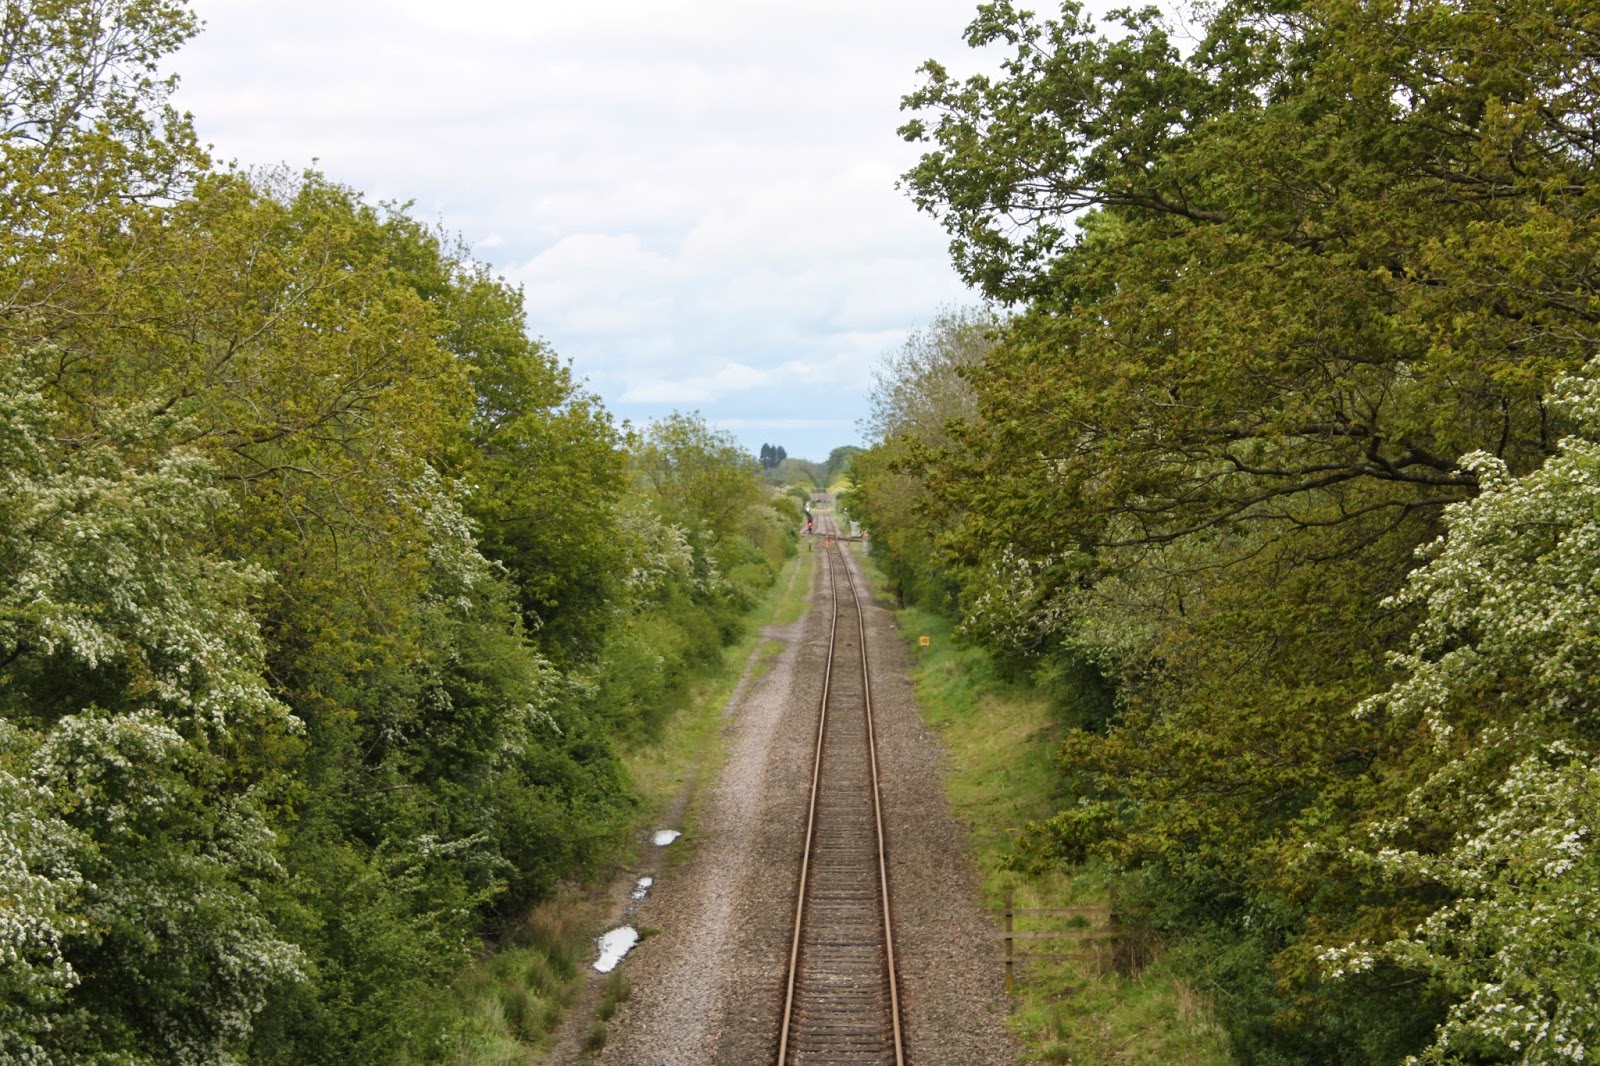
This is the next overbridge west of Verney Junction. First view looks east. No track here and nature is quickly reclaiming the recently cleared track bed.
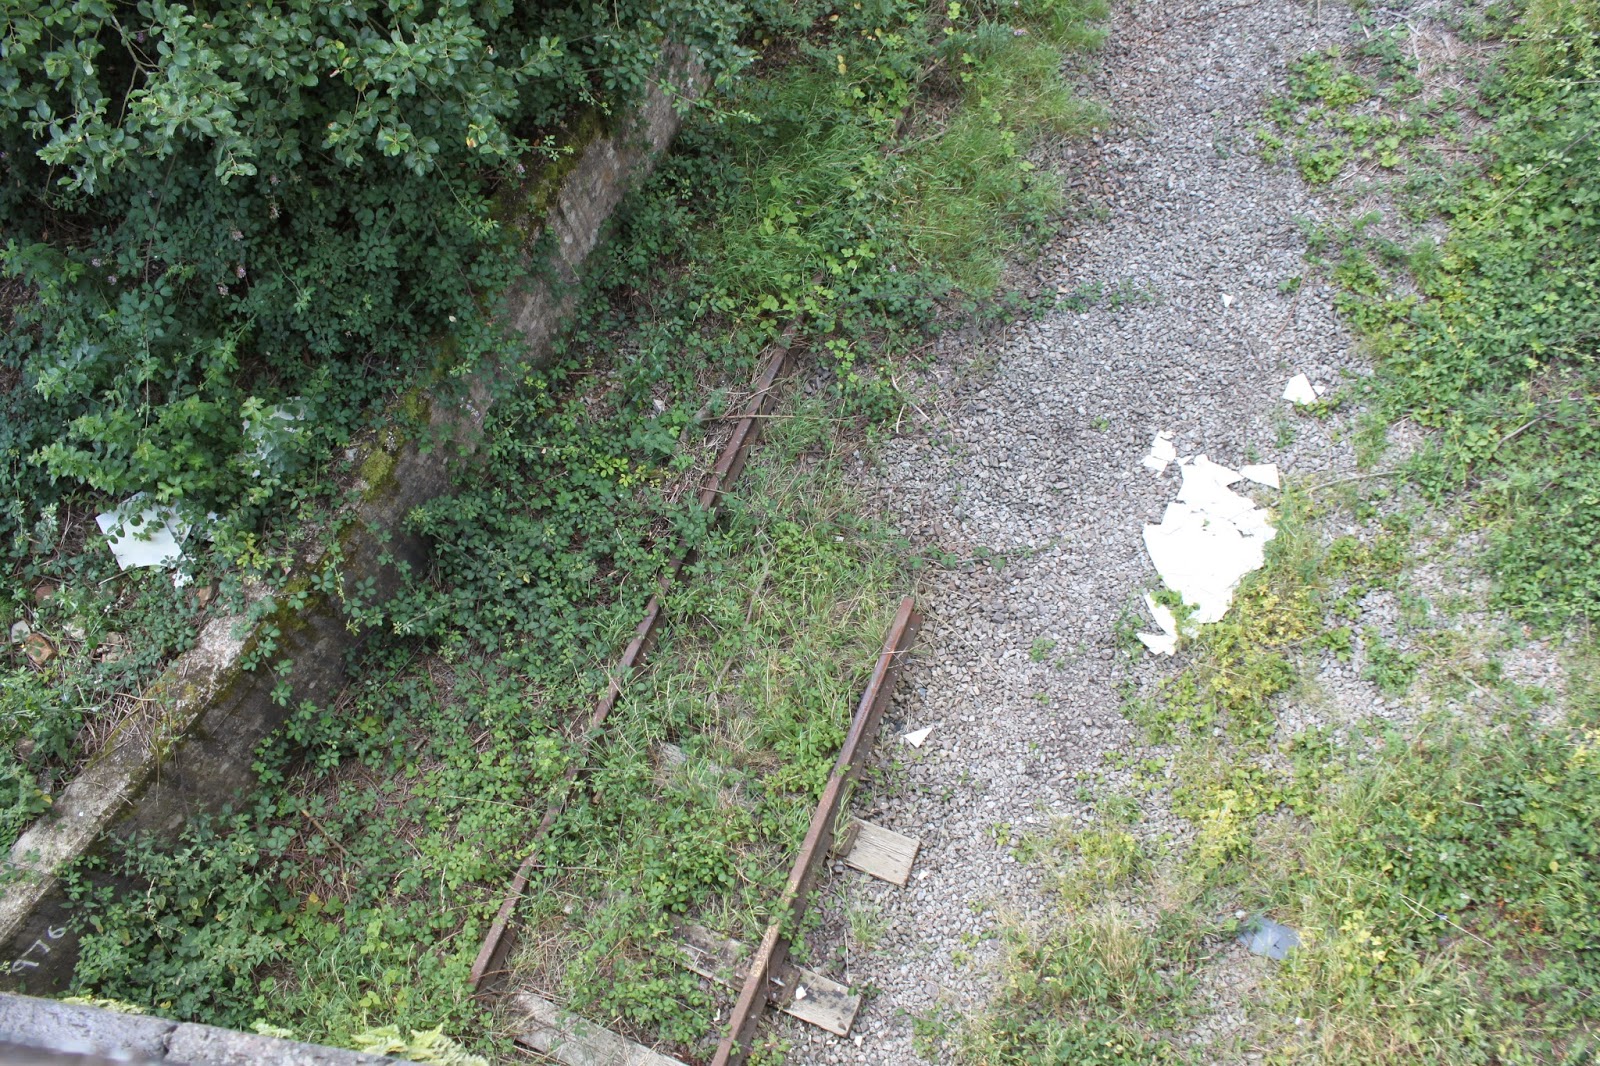
Looking the other way also no track but there are a few odd sleepers and a length of rail. You can see quite clearly where the track has been removed. Was this done by Network Rail or was it an opportunistic theft?
It is not quite true that there is no track. Looking over the western parapet a short section of track can be seen emerging from the bridge.
Interestingly new fencing and access gate has been recently installed. No lock on the gate which leads to concrete steps.

Also there have been some recent repairs to the parapet.
The next road crossing to the west is the level crossing at the former Claydon station. Despite the sign, there was no evidence of any lights.
Looking east, you can just make out the platform remains. The trackbed is neatly fenced off on both sides of the road by some white palisade fencing.
Looking west across the level crossing. It is quite overgrown on that side although the operational section of the line is not much further on from here.
There is a signal on the east side that is gradually being swallowed up by nature.
The line approaches from the east on an embankment as seen here with former railway workers cottages behind. However it arrives at the crossing on the level. Claydon station was built to serve the cluster of villages with Claydon in their name.
Next bridge west sees the end of the operational section with the run round loop for accessing the east south chord to Calvert.
Zooming in reveals the stop boards just showing in the undergrowth.
Looking the other way, you can just make out the red signal at the end of the run round loop protecting the chord.
Just below the bridge is another signal and associated cabinets which have suffered the attentions of graffiti "artists"
This is the west side of the bridge. A salt bin stands ready in case of ice on the access steps. Hopefully won't be needed for a while!
Looking back east towards the junction from the next bridge. This scene would have been very different in the 60s. The former Great Central crossed the Varsity Line on a bridge that would have been situated just this side of the small yellow sign on the right. The Varsity Line would have been double track. This scene will change again dramatically if the proposed HS2 goes ahead as it will cross here at the same point. However the plans suggest that the East West line will pass over HS2 By then we should also have double track again.
Looking down from the parapet, there is some sort of board arrangement for what purpose I am not sure.
Looking west towards Bicester from the same bridge.
Now turning and looking north from the road bridge, the dip in the road marks the point where the Great Central crossed the road at an angle. No trace of the bridge or the embankment as far as I could see. Again HS2 will cross here but the road is possibly going to be closed so no bridge will be necessary if that is the case. Whilst I was here I decided to have a look at Calvert Station as the line through there will become an important part of the East West project connecting Aylesbury with MK, Bedford and eventually Cambridge.
Looking south from the overbridge in Calvert. This was the first station on the Great Central after the end on junction with the Metropolitan at Quainton Road or the last station on the line depending on which way round you look at it! It was a typical island platform with staircase access from the bridge. The bridge itself was built large enough to cope with quadrupling in the future.

Moving across the bridge to the other side of the platform there is actually a third track. I hesitate to say passing loop because it is a very long time since passenger trains called here. The two lines merge under the bridge before splitting again on the other side. In the distance you can see the gantry of the waste transfer site. This is the only remaining southern section of the Great Central left although it only exists to serve waste trains. However these have at least ensured its survival and that of the section of the Varsity Line east of Bicester. However the short term future is more rosy with the East West rail project.
The blot on the horizon is HS2 which is shown as sharing the railway corridor with the former Great Central from Quainton Road to Calvert with a slight deviation to the east after. There were many "Stop HS2" posters in Calvert understandably. It will dramatically change the area but with no benefit at all to local residents. There is also a proposed infrastructure maintenance depot just north of Calvert.
Looking north, the line splits again, the left is a head shunt and the right connects to the single running line to Claydon junction.
Moving directly over the running line, there is a four lever ground frame to the right of the points.
Zooming right in to the point where the chord left the former Great Central which continued straight on. Apologies for the poor quality. Just to satisfy my curiosity, I decided to see if there was any evidence of the Great Central after the chord. There was a footpath through the nature reserve alongside the line so I followed this.
This was the start of the path. Quite a peaceful scene with a lake on the left and a wooded area on the right.
After passing the lake, I suddenly came across this small underbridge. This is the bridge that could be seen from a passing train on the chord.on one of the Youtube videos.
A closer inspection reveals that it is still in pretty good condition despite being abandoned since 1966
The trackbed is completely overgrown but I managed this shot from the side of the embankment. I did wonder what purpose it served. I thought possibly a cattle creep but it appeared there was no need for it when the chord was built forty odd years later. There is not an equivalent in the slightly lower embankment of the chord just a few feet further on. I did a little bit of digging (metaphorically) and found this picture which is clearly of exactly the same design as the one above. This one is just to the north of the East West line in the field to the west of the road with dip in it. I will endeavour to see if it is still there next time I am in the area. It is stated to be a farm access bridge so my guess is probably not far off.. It would seem inconceivable to the man in the picture that the one above would end up like this.
This picture is on
http://www.railwayarchive.org.uk/map/index.php which has a lot of interesting Great Central history. At first I thought this was the same bridge but although it is a black and white photo, I think the bricks are lighter coloured whereas the one I saw was blue brick.
This is a Bing Maps aerial picture which gives a better idea of the layout. The course of the Great Central is still quite obvious even though on the ground it is not easy to see. The bridge I found is located next to the hedge line where the chord starts to move away but before the curve. This would suggest a former farm access which might have become redundant when quarrying operations started. The bridge in the black and white picture was/is at the top left of the picture just to the right of the farm buildings.
Shortly after the bridge the path went up on to the embankment on a staircase. This shot looks north along the track bed. Hard to believe this was once a main line railway.
I will cover the last section from Claydon Junction to Bicester shortly.


.jpg)


.jpg)


No comments:
Post a Comment